Embedded Systems Development
I've been developing software on embedded systems since 2009. I enjoy the challenge of solving problems on platforms with tight constraints. Embedded software development has unique challenges, and I have written about some of them here.
Tannhauser Lamp
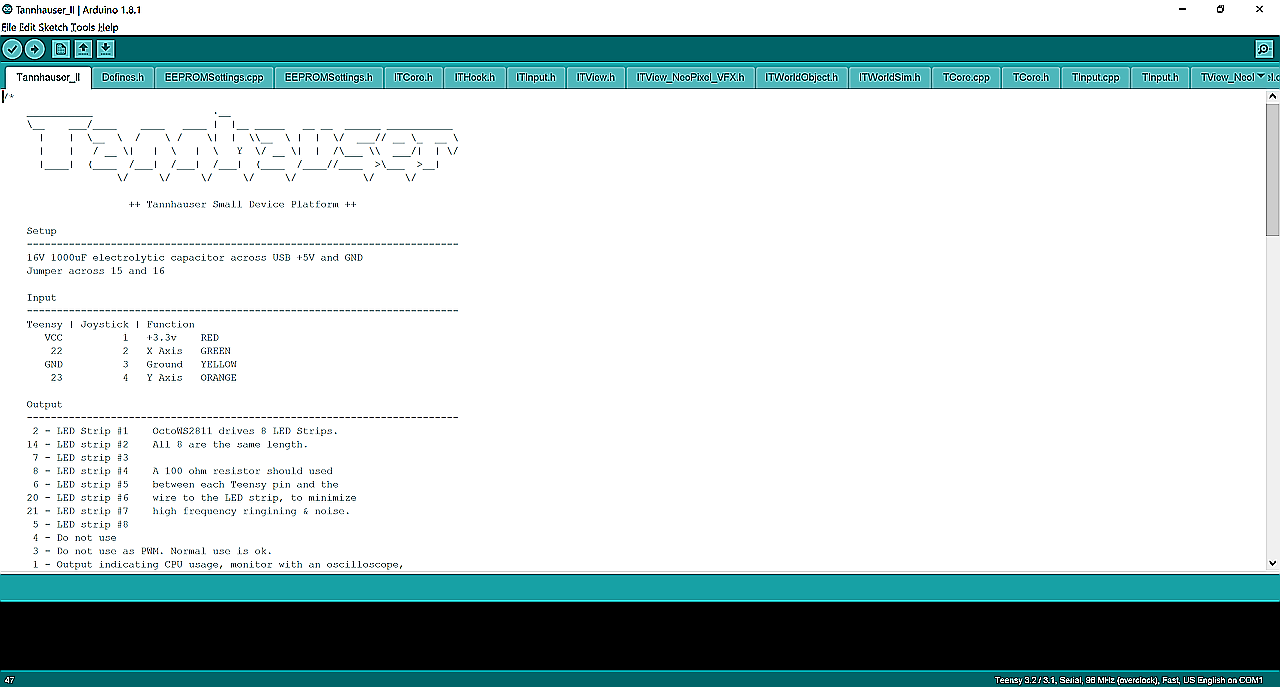 Lamp firmware, Arduino IDE
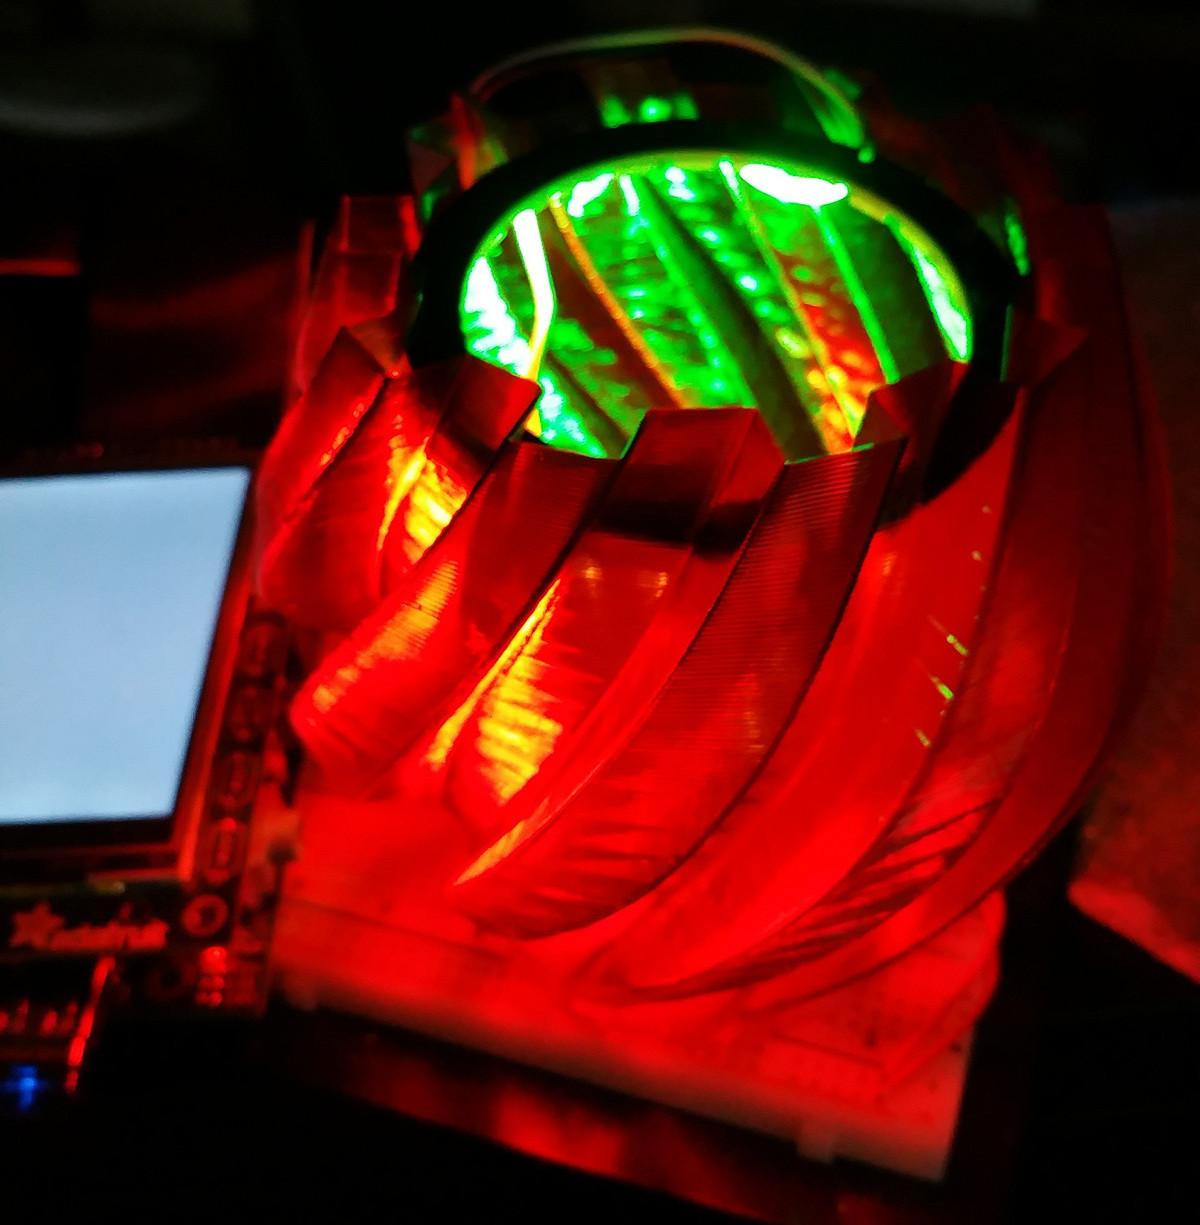
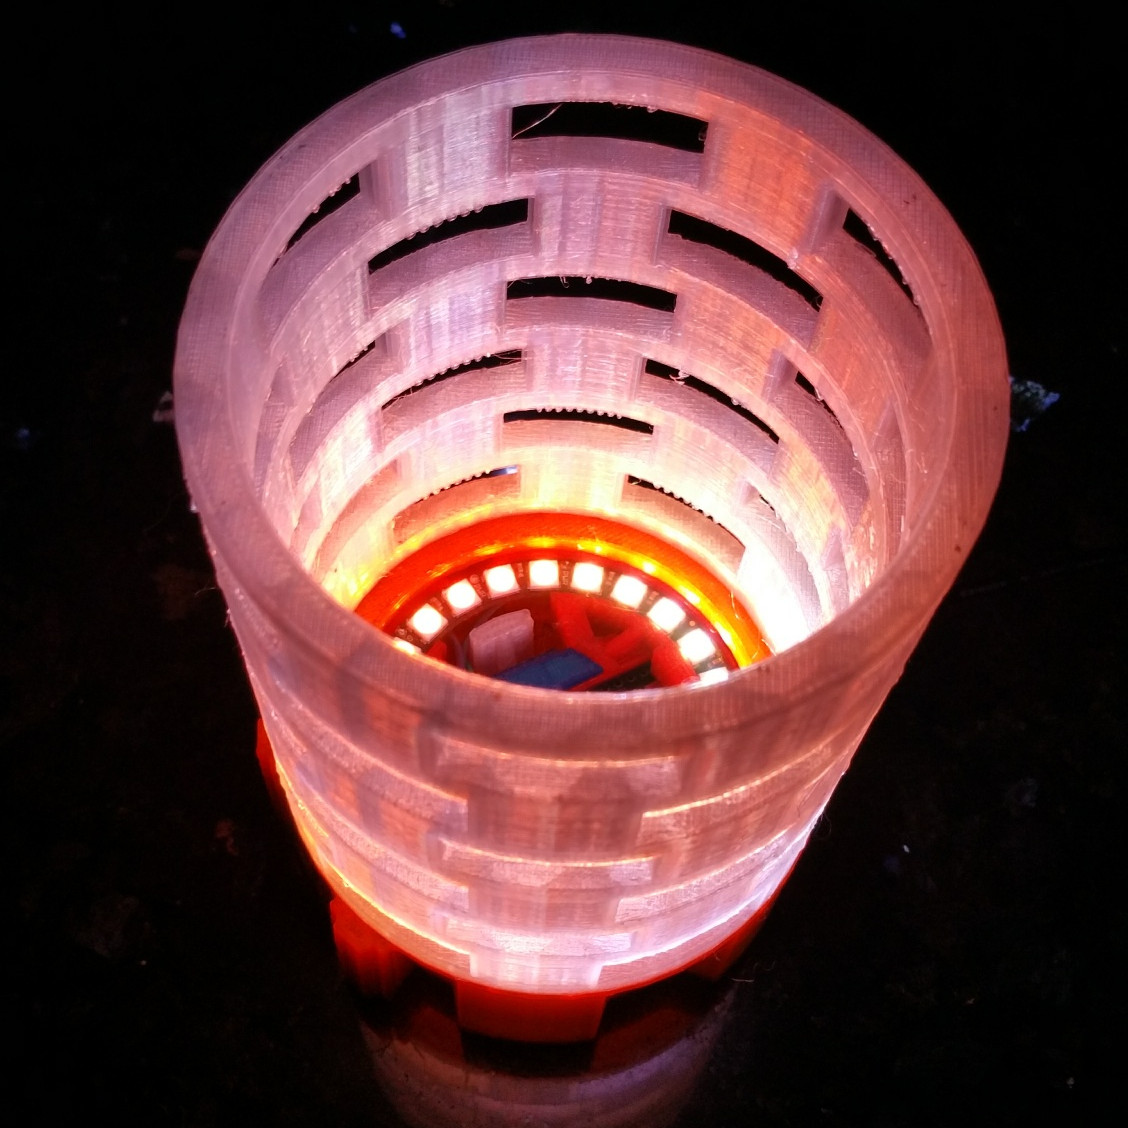 Finished Lamp
The Tannhauser Lamp is a 3D-printed lamp, suitable for indoor use. A ring of 24 individually-addressable RGB LEDs projects multi-colored light upward, where it diffuses through a lampshade and paints the surrounding environment. Each LED can have its own color and intensity, allowing for a wide variety of effects. This is driven by an ARM Cortex M0 processor running at 72MHz. The firmware, written in C++ in the Arduino IDE, combines a physics simulation with pixel shaders to generate smooth, organic, randomly-changing color effects.
I began writing the firmware for this lamp in 2015. It had been years since I'd done anything in C++, and it was good to get back into that language. Almost every modern programming language descends from C++, so it wasn't difficult. In fact, it was a really good exercise. C++ requires the use of interfaces in situations where other languages, like PHP, will let you get away with not using them. The Tannhauser Lamp code requires a lot of dependency injection, and because the compiler is single-pass, interfaces are by far the most elegant solution. They certainly make SOLID compliance much easier.
The biggest challenge was working with the Arduino IDE, which uses a version of C++ that does things in non-standard ways. It's a hassle to put code into sub-directories because it wants you to use its version of libraries instead, and program entry isn't the same as it is with console or GUI apps. However, anyone who's fluent in C++ can figure these things out. Other than that, it acts the same as C++ on other platforms. The biggest constraint is using classic 8-bit Arduino controllers, which have only a tiny amount of space for data and stack. It's better to allocate all RAM that will be needed up front, so you don't run into issues later. (This is part of what motivated me to use the ARM platform instead. 64K of RAM is far easier to program for than 2-4K.)
Aside from the electronics, the lamp is made entirely out of 3D printed parts that are designed to fit together.
Heuristic Calibration for Delta Printers
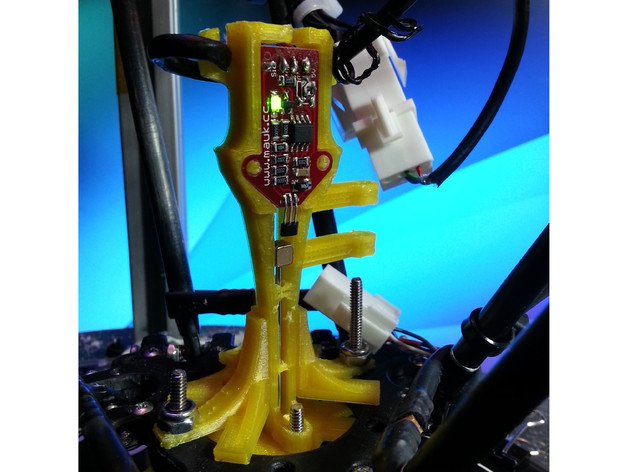 My first Z-probe mount, designed in SketchUp and using a fancy Hall Effect sensor
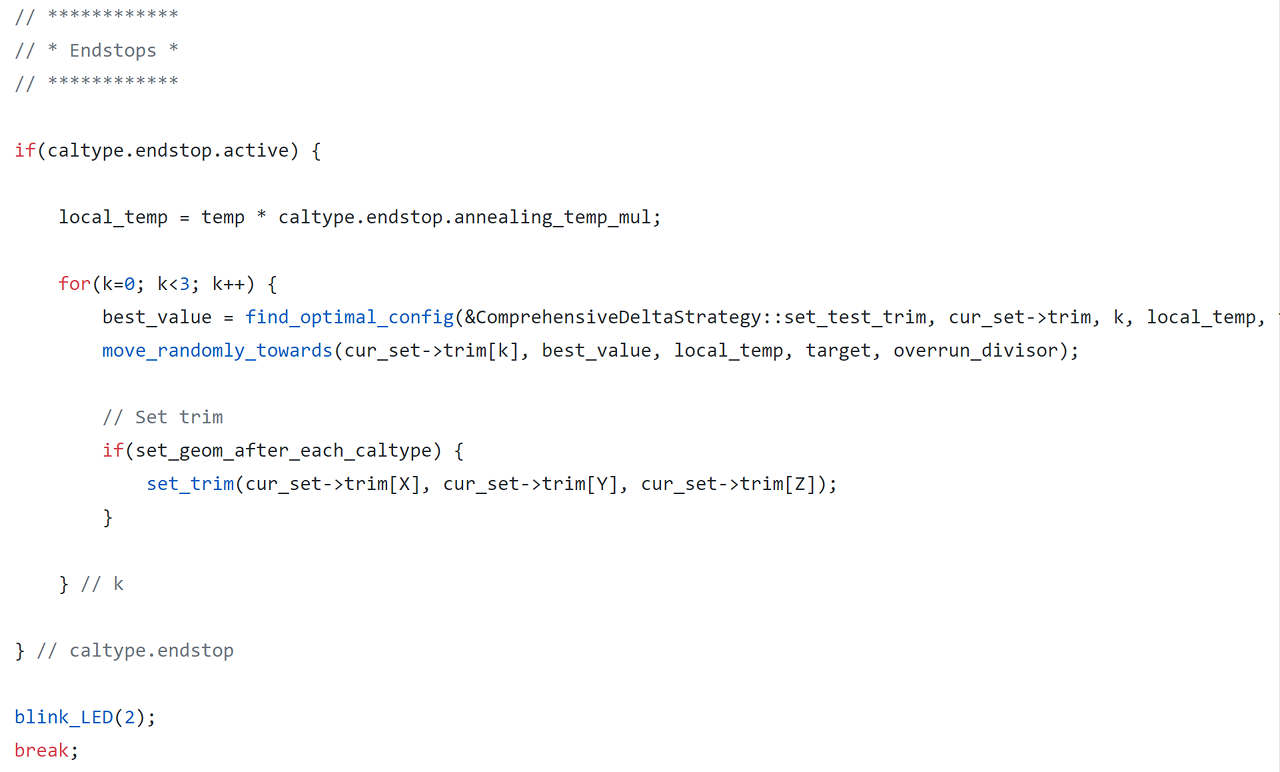 Parallel Simulated Annealing
Linear delta printers like this one can be very difficult to calibrate. After searching for many months for a solution to this problem, and finding none, I decided to solve the problem for once and for all myself. I wrote an extension to the Smoothie 3D printer firmware. It helps users to calibrate their Z probes, and then uses those Z probes to capture information about errors in the printer's positional accuracy. This information is then run through an algorithm to determine the set of physical misalignments most likely to produce the observed errors.
To "brute-force" the problem — that is, to try every possible combination of misalignments, down to some specified granularity — would require so many calculations that it would take days for the search to run. This is because the firmware is capable of independently adjusting 13 variables, thereby making the problem space 13-dimensional. That's quite a few combinations! In order to solve this problem, I implemented a parallel simulated annealing algorithm that allows all 13 variables to slowly move towards the most likely optimum values. A perfect solution could cost a quadrillion or more iterations, but my code can get pretty close to perfect in only fifty iterations. It typically improves positional accuracy by tens of microns, which is significant.
The firmware modification also has code to take out any remaining error in the Z dimension, thereby ensuring perfect first-layer adhesion. This is done by running a depth map of the print surface through a bilinear interpolation algorithm, which is called by the firmware as the effector is moved in real time. This causes the effector's nozzle to be raised or lowered as necessary to keep it the correct distance from the print surface.
The code that does this is not SOLID compliant. It could be refactored for this somewhat. However, there are several reasons not to do that:
- The single-responsibility principle would require splitting the one monolithic class into many smaller classes, which means increasing dynamic allocation and consuming more memory. Those are both very bad ideas in this case. Smoothie runs on a CPU with 32+16+16K of RAM. Almost all of it is already taken by other parts of the firmware. On microcontrollers with tight memory constraints, it's better to allocate as much as possible up front, and to avoid dynamic allocation after that. In this way, the environment is made more predictable, and there is less worry about stack-heap collisions and memory fragmentation. Creating a bunch of new classes will exacerbate those issues.
- The existing codebase tends to contain large, monolithic classes, and is maintained by someone who can be very picky. I'd like to get the code accepted to the upstream repository someday. That means I have to code in a style that he likes. If I try to submit 10 different C++ files, when every other calibration strategy is in one single file, he will probably say no.
Raspberry Pi Device Driver for NeoPixel RGB LEDs
 Raspberry Pi running NeoPixel LEDs with my driver. The ring is wedged into a "gear vase" I printed in a material called T-Glase
NeoPixels are small RGB LEDs with integrated drivers. They can be connected in series very simply, requiring only power, ground, and data lines. Each NeoPixel is capable of receiving color information on its data line, as well as forwarding color information to the next NeoPixel in the series. The NeoPixels I use (WS2812 type) require a self-clocking signal on their data lines, meaning that the signal has to be divided into pulses that are each the same length, which is 400 nanoseconds. Two high pulses followed by a low pulse signify 1, and one high pulse followed by two low pulses signify 0.
In the Spring of 2014, I wanted to use a Raspberry Pi to drive NeoPixels. To my astonishment, I discovered that there was no Raspberry Pi driver. In fact, the chief hardware vendor suggested that the Pi could not drive NeoPixels because it lacked a real-time OS. After all, the pulses are only 400 nanoseconds wide. Since another task could interrupt signal generation at any time, the signal itself could have its timing thrown off, ruining it.
When I saw that, I knew I could make it work. The Pi has a reasonably powerful desktop-class processor with a DMA controller, which is a clever piece of hardware that can transfer information from one place to another independent of the main CPU. DMA controllers have their own dedicated execution resources, so even if the CPU is completely saturated, they can still transfer data with perfect timing. I reasoned that if I generated a waveform with the required high and low pulses, I could use the DMA controller to send that waveform to the Pi's PWM generator, which would then send the waveform down the NeoPixel's data line.
I bought an oscilloscope, and began writing code. A month later, I had a device driver that could run well over a hundred NeoPixels at the same time. This code was quite difficult to write at times. The DMA controller and PWM generators have to be controlled by writing values to hardware registers, but the CPU's documentation doesn't tell you all the registers, nor any "tricks" you need to get them to work properly. I had to find out about those things the hard way, through trial and error. I persevered, and at the end of the process, I had the first NeoPixel device driver for the Raspberry Pi. It was later incorporated into an open-source media center program.
Embedded Software Development Principles
 Code for debouncing a button press
Embedded development requires different strategies from desktop, mobile, and server apps. This is especially true of memory management. Embedded platforms typically have a very different operating environment:
- They often have much less than 1MB of memory available. Atmel AVR (typical Arduino) devices usually have between 2 and 8KB RAM. An ARM Cortex M0 processor might have 64 or 96KB.
- Their memory is sometimes segmented into multiple buses (for example, on ARM platforms). Each bus has its own malloc() call.
- They often run at speeds below 100MHz (sometimes 16MHz, or even less).
- They often run without being rebooted for years at a time. Predictability of resource usage (especially RAM) is critical.
- There is often no support for relocation/resizing of code, data, or stack segments.
- There is often a need for substantial hardware access. For example, many microcontrollers will process input from buttons that have to be debounced, or drive a display of some kind. Most useful applications will use GPIO, I2C, SPI, CAN, UART, PWM, DMA, or some other peripheral. Embedded developers may be able to find existing code to handle the I/O they need, but it's likely that they will eventually have to write their own drivers.
- You may have 12K free, ask for 5K, and crash because there isn't 5K of contiguous memory available due to heap fragmentation.
- Even without heavy fragmentation, some platforms split RAM between several buses; in this case, you might ask for 5K on AHB0, but crash because only AHB2 has that much free.
- If you have time-critical code that pushes the boundaries of what your MCU can do — for example, calculating delta kinematics on an 8-bit 3D printer controller — any code you add can potentially disrupt the timing. (That's a real-world example.) Extra cycles spent on creating and freeing these classes should be avoided.
There are strategies that can help in situations like these:
- It's important to be agnostic about software development methodologies. Don't go for a picture-perfect SOLID implementation if it crashes your controller. Be flexible. Your code has to work within the resources you have. If implementing the Single Responsibility Principle puts you at risk of a crash, then don't do it.
- Heap memory can be allocated during startup, reused regularly, and never freed. That cuts down on heap fragmentation, and is standard operating procedure in critical microcontroller software development.
- Classes that would otherwise be created and destroyed repeatedly can instead be created once, have methods that can initialize them to their default state, and used over and over. Classes with static methods may also be a good option.
- For representing data, it's often best to use primitive types. For example, it's usually better to allocate a
char[]array that might be "a few bytes too long," than to allocate a much heavierString()object.String()objects come with overhead that can consume more precious RAM than would be lost to achar[]array. - Embedded systems usually execute code directly out of "program memory" (flash), as opposed to desktop/server systems that copy code into RAM and execute it from there. Depending on the architecture and toolchain, it may also be possible to pass strings directly from flash to functions that use them. You still have to allocate a machine word for the pointer, but this bypasses the need to take up more RAM than that.
- Temporary memory needs are best served by the stack. If it gets too big, it will collide with the heap, but it will never get fragmented.